How to Add Lens Flare Effect to an Image in Photoshop
Lens flare is a phenomenon that happens when light is scattered from a bright light source and creates colored circles, rings, starbursts, etc. on the trot. In photography, lens flare can be generated by a bright light entering the camera lens and hitting the camera sensor.
Contents
Lens flare has the magic to produce a visual appeal in your images. If you wish to add lens flare to your photography, all you have to do is a point and shoot your photos toward the sunlight or any artificial light source like a flashlight. With this method, your photography is likely to boast lens flare.
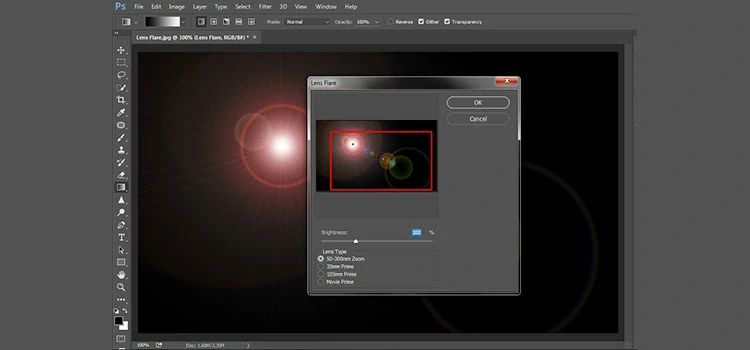
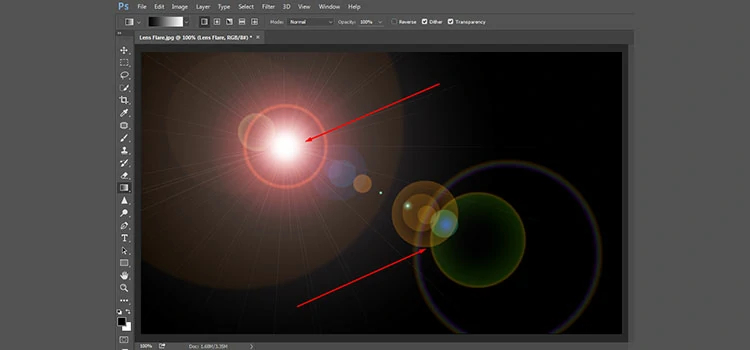
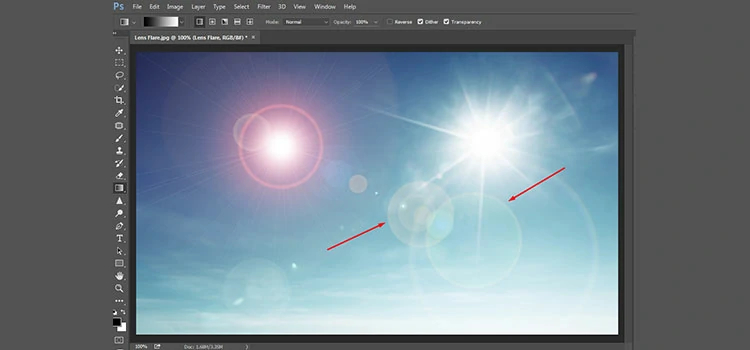
Lens flare can inject a warm softness to backlit portraits, create exceptional landscape shots, and let you notch up a cinematic or sun-drenched appearance. And you know the best part? Besides bringing out lens flare to your image with a camera, you can even produce it with Adobe Photoshop!
This is exactly what we will walk you through in this tutorial. So, let’s get started…
How to Add Lens Flare in Photoshop (Easy Steps)
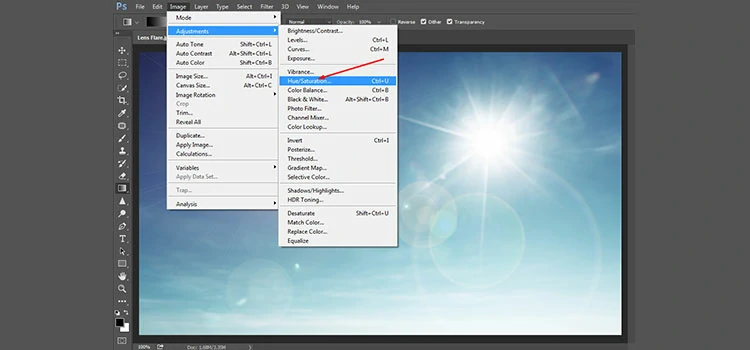
Photoshop allows creating lens flare just by following some easy and simple steps. It doesn’t require any craft to apply in order to achieve lens flare in your image.
Open your Image in Photoshop
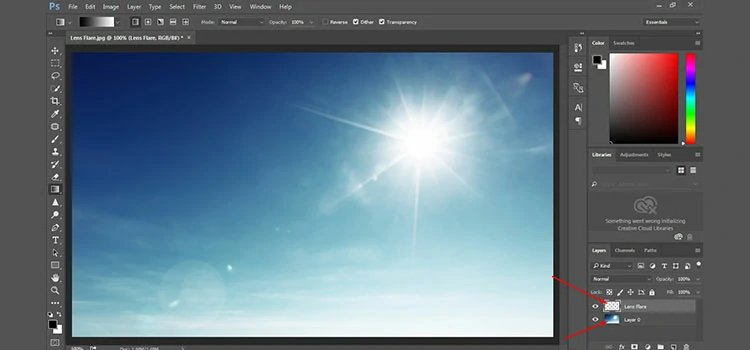
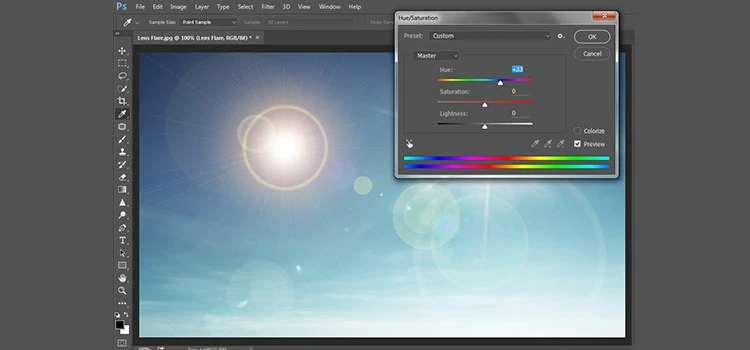
Before you do anything, open an image with a light source in Photoshop. Then, unlock the background layer followed by creating a new layer. Then, rename the new layer.
